Hi!
Let me show how the sensor connects to the PC as well as the software setup needed in order for the entire connectivity to work. This post may come off as image-heavy so here goes.
Hardware
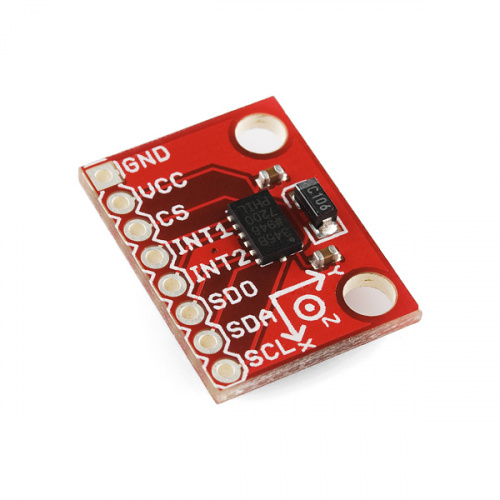
(image taken from the ADXL345 Hookup Guide)
This is the ADXL345 sensor on a breakout board.

The Diolan DLN-2. This is an adapter that allows USB connectivity to I2C/SPI/GPIO/PWM/ADC. Using this adapter, we’ll be able send and receive data to/from I2C slave devices. In this case, the ADXL345 serves as the slave.

In order to establish connectivity between the DLN-2 and the ADXL345, we must follow the diagram above from the datasheet.

The ribbon connector of the DLN-2 for I2C connectivity is well-labeled thus, connection is as simple as attaching the IC hook and alligator clip to their corresponding pins on the sensor12. However, the ADXL345’s connectivity is not as simple so I placed it on the breadboard and wired it according to the connection diagram above.
Important Notes:
- DLN-2: Set the I2C VCC to 3.3V by moving the jumper to the corresponding setting.
- DLN-2: Removed the jumper on the I2C’s SDA and SCL pull-up resistors since I’m wiring external pull-up resistors on the breadboard.
- Breadboard: I wired the sensor as shown above and made use of 4.7 kilo-ohm resistors3. Exposed some wires where I hooked and clip the ribbon connector of the DLN-2.
- Breadboard: ALT ADDRESS is the SDO pin on the sensor. I grounded it as per the diagram above. This in turn would mean we’ll use 0x53 as the I2C slave address.
Software
Daniel, one of my mentors, provided a ready to use QEMU setup for testing and debugging of the module. The use of virtual machine gives me the benefit where I don’t have to reboot my PC when something goes wrong thus, interrupting my workflow.
In the kernel configuration, have the CONFIG_[GPIO/I2C/MFD/SPI]_DLN2 built-in (select ‘y’) and also the drivers of my network/wireless cards so that I have connectivity in the guest kernel.
Plugging the USB cable attached to the Diolan to the PC and launching QEMU will give this output:
[    2.222168] usb 1-1: new full-speed USB device number 2 using uhci_hcd
[    2.657138] usb 1-1: New USB device found, idVendor=a257, idProduct=2013
[    2.660115] usb 1-1: New USB device strings: Mfr=1, Product=2, SerialNumber=0
[    2.662996] usb 1-1: Product: Diolan DLN2
[    2.664882] usb 1-1: Manufacturer: Diolan
[    2.671327] dln2 1-1:1.0: Diolan DLN2 serial ********
That’s it! Thanks for reading.